
Manage bot connections
Once a bot connection exists, you can update its settings, place a test call, or delete it.
Edit a bot connection
You change a bot connection's settings in the Edit Bot dialog, which groups them into the tabs described below.
To edit a bot connection:
-
In the Navigation pane, select Bot connections.
-
On the connection you want to change, click Edit.
The Edit Bot dialog opens on the Details tab.
-
Make your changes on the tabs described in the following sections.
-
Click Update.
-
Click Close.
Details
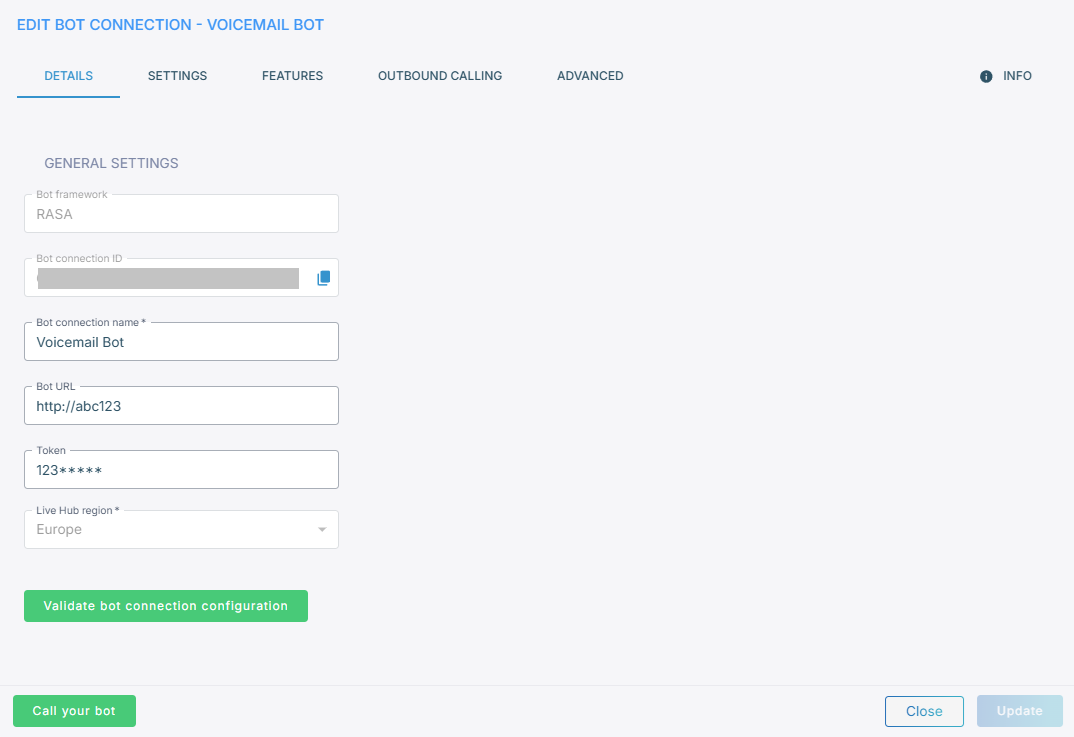
On the Details tab, you can change the 'Bot connection name' or the 'Bot URL'. To
copy the bot ID, click the copy icon  .
.
Settings
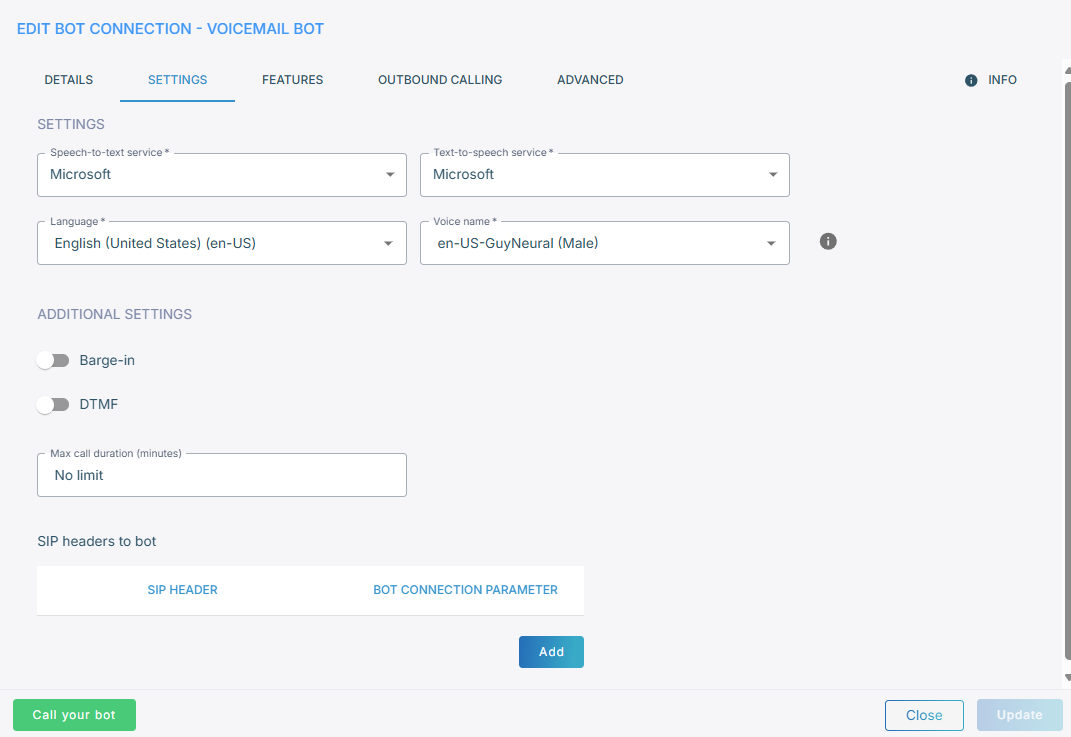
The Settings tab is where you change the speech-to-text service or the text-to-speech service.
On a connection using the
AudioCodes Bot API
framework, the tab also sets which API mode the connection uses: selecting
Enable voice streaming switches it from chat to streaming.
Under Additional Settings, you can configure the following:
- For the Barge-in and DTMF toggles, see Configure features for each bot connection.
-
'Max call duration' is set in minutes, from 0 to 43200. Live Hub ends the call when the limit is reached. The default, 0, means no limit.
The account's maximum call duration takes precedence. With 30 minutes set on the account and 40 on the bot connection, calls end at 30. See Configure maximum call duration.
-
SIP headers to bot sends further SIP headers to the bot. Live Hub already passes selected SIP headers from the initial INVITE in the start message. Add rows here to send more headers, or to overwrite the value of a header that Live Hub sends by default.
To add a SIP header:
-
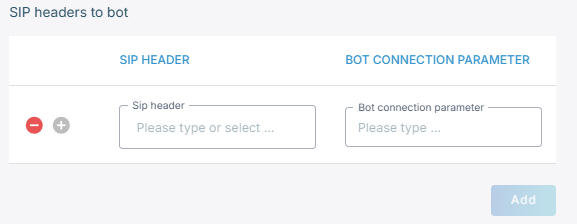
Under SIP headers to bot, click Add.
-
In the 'SIP header' field, enter or select a SIP header.
-
In the 'Bot Parameter' field, enter the bot parameter.
-
Click the plus icon
 to save the row.
To also send headers from in-call re-INVITE and UPDATE requests, in an updateSession
message, add the following on the Advanced tab:
{
  "sendEventsToBot": [
    "sessionUpdate"
  ]
}
Features
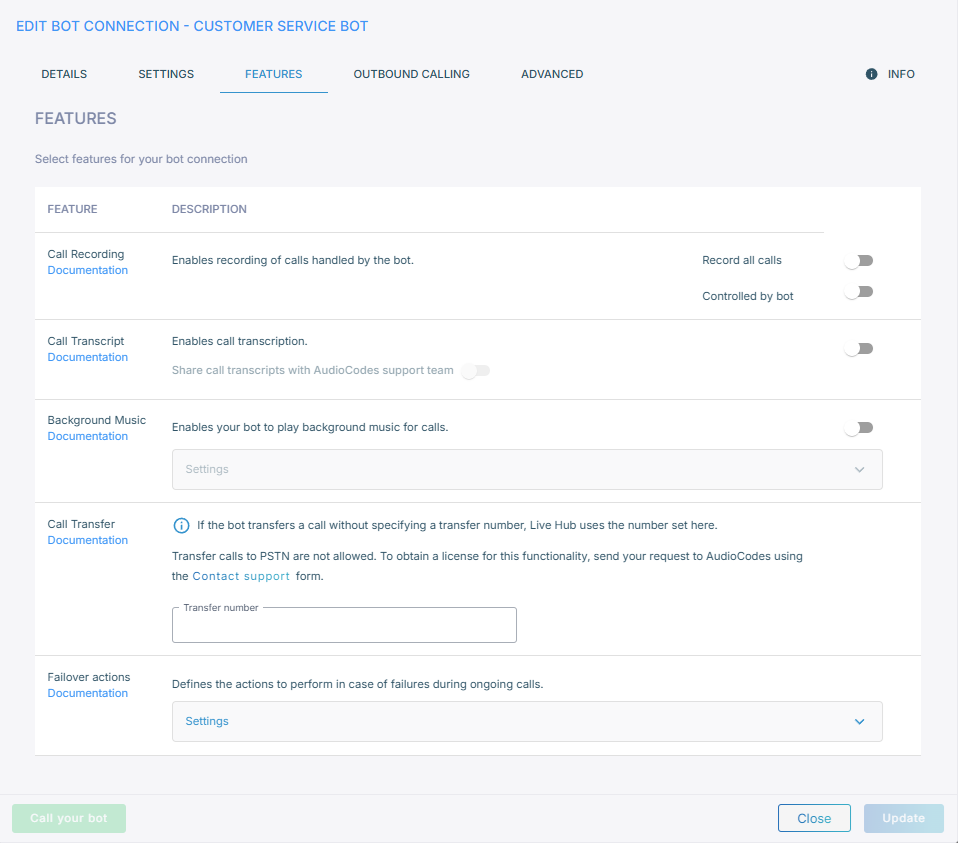
On the Features tab, turn a feature on with its toggle:
Outbound Calling
The Outbound Calling tab is described in Outbound calling.
Advanced
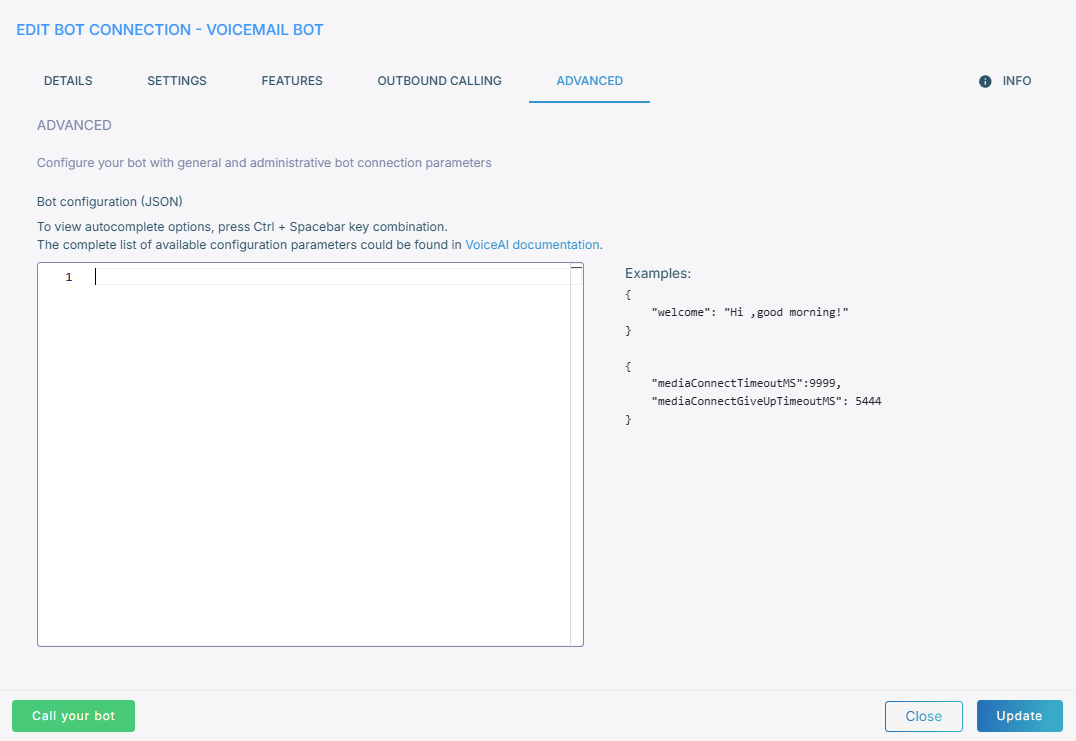
The Advanced tab is a JSON editor for the bot's parameters. Press Ctrl+Spacebar for auto-complete. The Update button stays disabled until the JSON is valid.
Everything you add goes inside one pair of curly brackets, with a comma between parameters. For example:
{
    "mediaConnectTimeoutMS": 5000,
    "mediaConnectGiveUpTimeoutMS": 15000
}
Do not put a comma after the last parameter, which is the mistake that usually keeps Update disabled.
For the parameters themselves, refer to the VoiceAI Connect documentation:
Info

The Info tab shows the bot connection's public IP address, which you may need to
allow through your firewall. Copy it with the copy icon
.
Test a bot connection
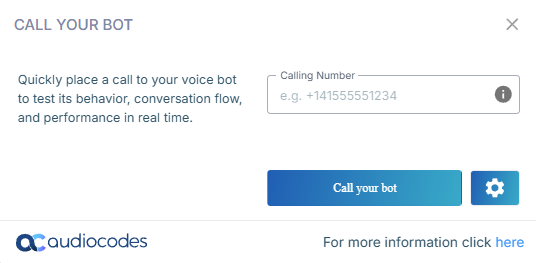
A test call confirms that the bot connection works. You do not need a routing rule for the test, and you can test only a voice bot, not an assist bot.
To test a bot connection:
-
In the Navigation pane, select Bot connections.
-
Start the test in either of these ways:
-
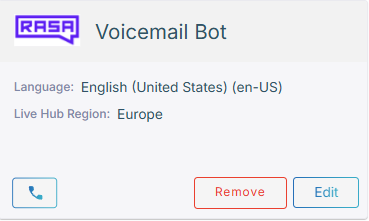
On the connection's card, click the phone icon
 .
.
-
Click Edit on the connection, and then click Call your bot in the bar at the bottom of the dialog.
-
-
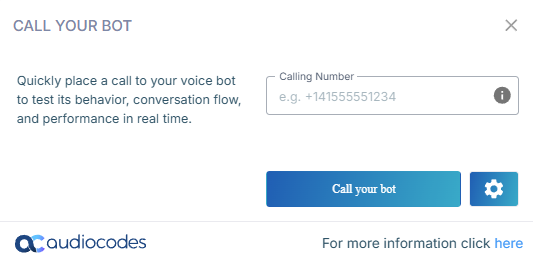
Optional: In the 'Calling number' field, enter the number to show to the call recipient.
-
Optional: Click the settings icon
 to change the microphone and speaker, and then click Done.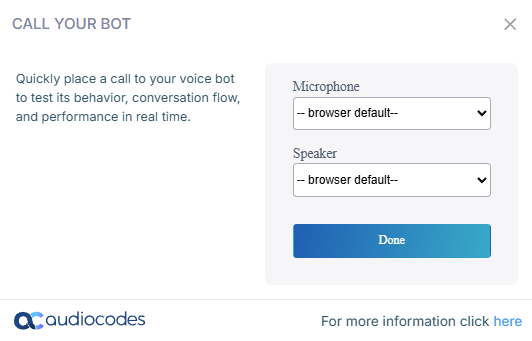
-
Click Call your bot.
Delete a bot connection
You delete a bot connection from the Bot connections screen, and Live Hub asks you to confirm.
To delete a bot connection:
-
In the Navigation pane, select Bot connections.
-
Select the connection you want to remove, and then click Remove.
-
Click OK.